Me Made May 2020 ......... The Glide Jacket
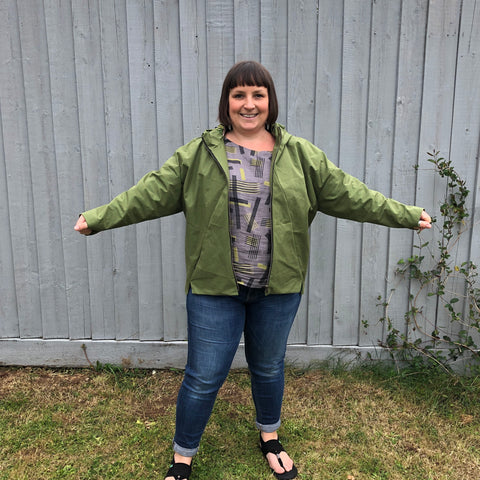
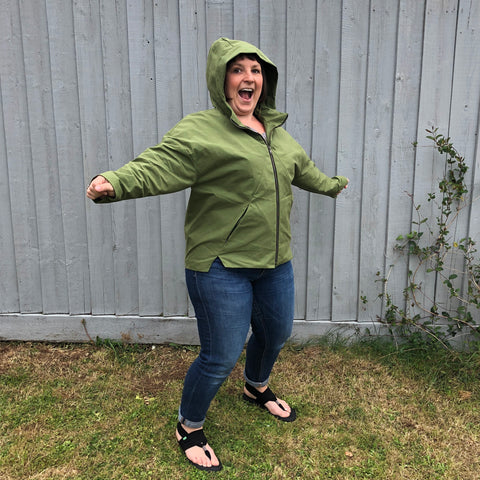
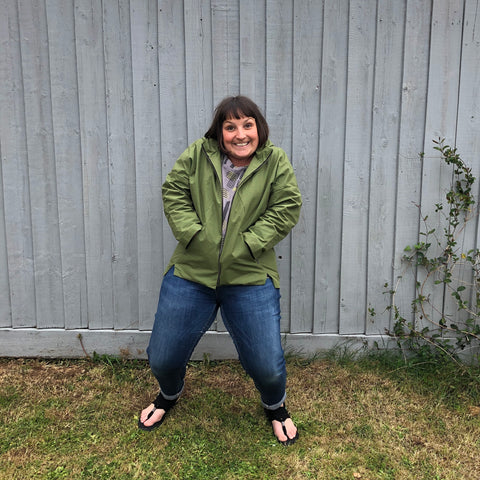
Glide Jacket my 2019 MeMadeMay slow sew finally finished just in time for MeMadeMay 2020.
Now this has been my slow sew for a very long time!
During my Me Made May last year…. Yes 2019 I decided to make this jacket, now MeMadeMay 2020 I though, lets kick this month off with this gorgeous jacket.

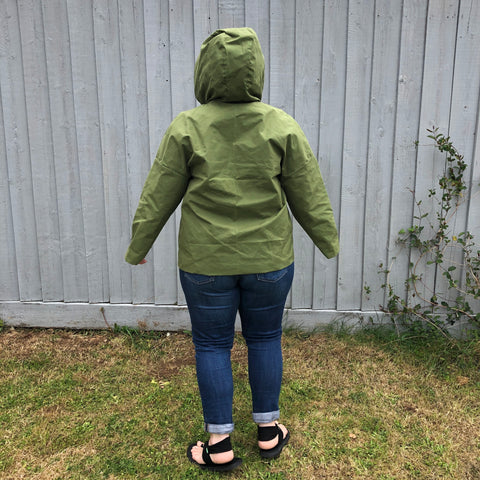
It was just what I had been looking for a jacket not too long that had a hood so perfect smartish rain jacket.
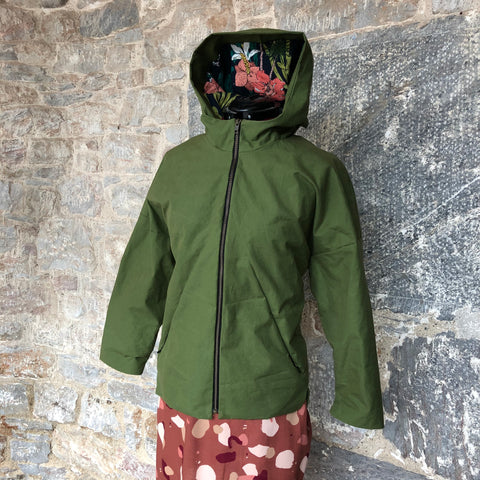
I also loved the lines on it, the way the pockets are in the seams at an angle, the V at the bottom of the jacket, love it all.
 s
s
This was my slow sew which would be sewn over the month of May and possibly a little longer, well that turned into a lot longer. You know those projects you are really excited about but then time seems to slip away? You need time to concentrate on it because it’s something that needs your attention, but you never seem to find that time? Well this was that time! This was that project. All cut out last May, all ready to sew but no time to concentrate on it. Until now.
The fabric
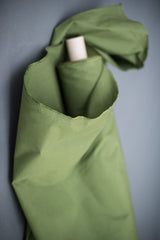
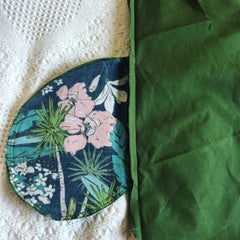
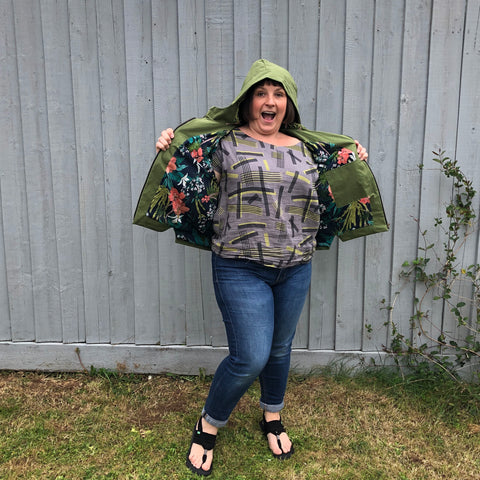
Merchant and Mills dry oilskin Grass colour. I did think it was going to be a little more vibrant green when I ordered it so was a little bit disappointed when it arrived, but the quality was amazing. I originally wanted to use the cobra corsage cotton lawn for the lining but changed my mind when I re-looked at this a few weeks ago. I decided it needed something a little bit more feminine because of the darker green.
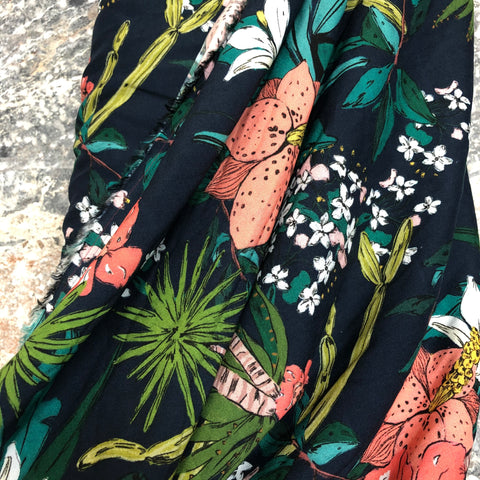
I had the perfect fabric a viscose fabric by Lady McElroy, the Acrea palms, it has a lovely green leaves and bright coloured flowers to highlight the green and also brighten up the overall jacket.
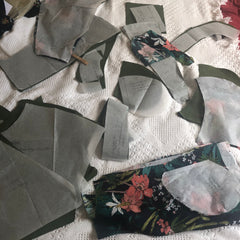
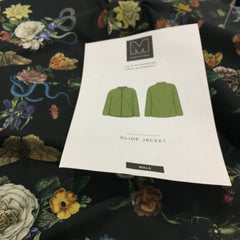
I already had the merchant and mills all cut out, so I did need to re-familiarise myself with the pieces, then cut out the lining.
All the pieces ready to go.
The instructions from Made It patterns were really good, so much info and really worth reading through before you start so you know where you are. I really like the chart provided with the pattern pieces so you can quickly see what you need cut in what fabric.
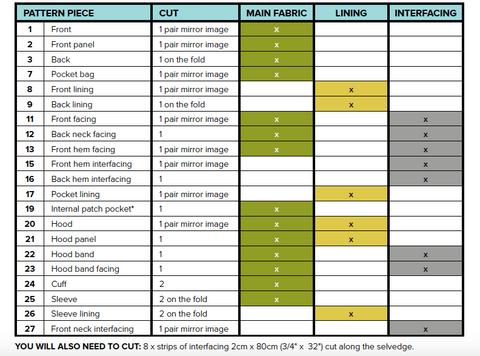
The first instruction was to use the interfacing but having worked with the dry oilskin before I knew I didn’t need to use this. You can’t iron dry oilskin, another benefit as you rarely need to use the iron in the project only with the lining.
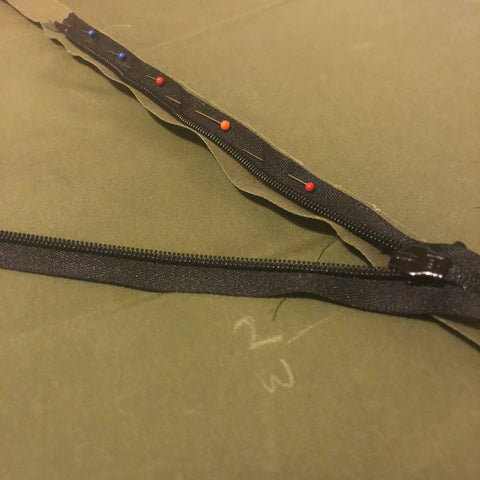
Ok so I have a confession, this is where I stopped last year, the invisible zips in the expensive oilskin scared me! I know really silly, but it did and I needed to concentrate so that was where last year I decided to pop it away until I had time. Well I really shouldn’t have, I followed the instructions and came away with perfect invisible zip insertion. I could believe it, so easy. The method used is inserting the zip with the seams already closed and I really like this method. Definitely should have not been nervous about this.
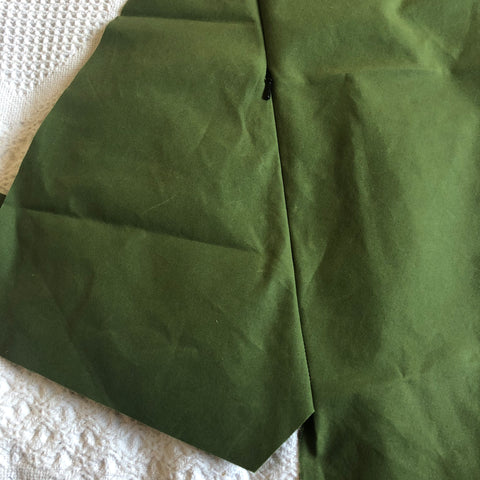
Next few steps were the pockets and this all went lovely and smoothly.
Now it’s for the main zip, just please note read ALL of the pattern as with this part if you are making the hooded version you have to jump to instructions further down and to start with a didn’t see this and so started to get very confused. Ok back to the zip, first insertion went in perfectly, until I realised, I have sewn the zip in backwards, so the zipper pull was on the inside of the jacket! Whoops.
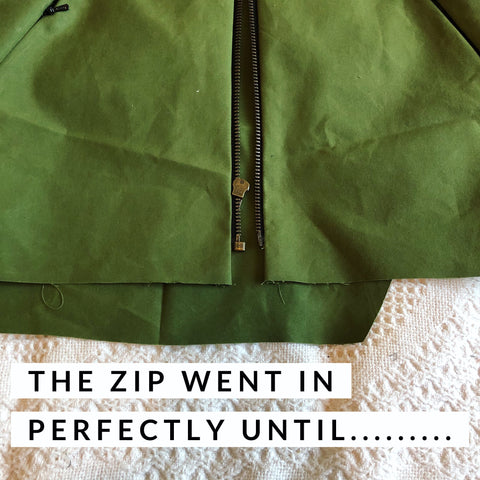
Whipped that zip out, second insert was ok, not as perfect as the first but I was pretty happy. Loved how the diagonal points meet in the middle of the jacket.
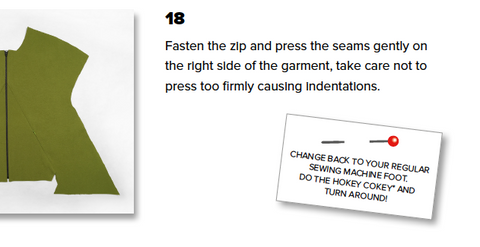
Continuing through all of the steps of this jacket was really easy with the instructions and easy to see photos. The explanations were great, and I love the little encouraging pointers throughout.
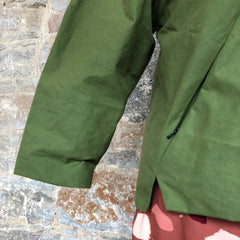
When I got to the sleeves, I realised that I didn’t measure the length and so had to go back and reduce the length, this is the only mistake I made, I cut them again according to the measurements but took off 3 inches. When I sewed these in, I realised I might have cut them a bit short!! Whoops again! I ended up having to cut and extra section and sewed this on the end of my sleeves, it worked out ok as it was the same amount as when turned up inside the jacket to attach to the sleeve lining, So all ok in the end.
My only struggle I had was with the sleeves and sewing them through a little hole along the lining. This is pretty tough to work out how it went and which way and how I had to sew it. Got there with in though and that is because of all the photos.
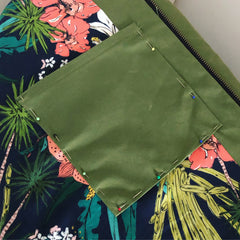
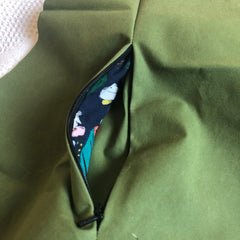
I can’t rate this pattern highly enough! I really enjoyed sewing this jacket, I really enjoyed the precision of the sew, the way all of the lines of the jacket lined up, the way the zips were put in, the way the zip finished, the size of the hood, the little detail along the bottom edge with the little V, it was a lovely pattern.
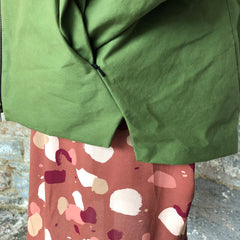
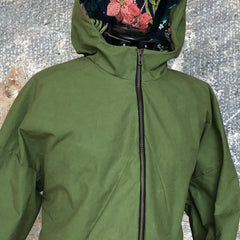
The very best slow sew, a year sew to be exact!


Loved reading about your experience with the Glide Jacket. Very informative. Your jacket looks amazing and the fabrics you used gives it that element of luxury.
Loved reading about your experience with the Glide Jacket. Very informative. Your jacket looks amazing and the fabrics you used gives it that element of luxury.
Leave a comment